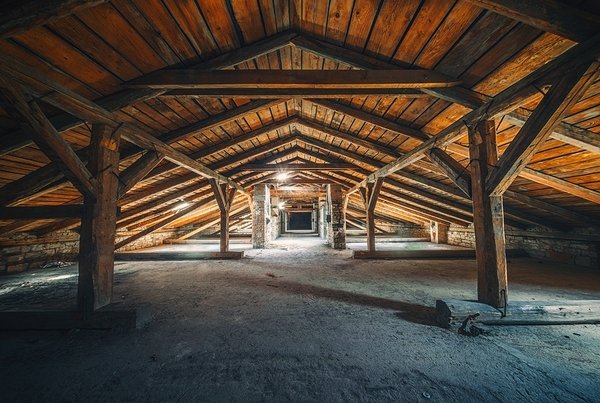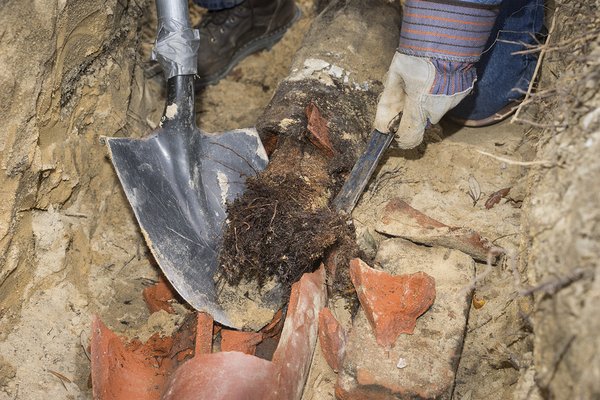
This attic photo is too dark. Proper use of flash will correct this problem.
Photos are an important part of home inspections. That being said, many older home inspectors who have been in the business for many years might forego taking pictures, just because they never have before.
This is the kind of attitude that can put a company out of business. With the dawn of smartphones, photos changed. They are no longer just for special occasions; they are for everything from documenting what you ate for breakfast to which chair your cat is napping on. No longer is it necessary to buy film and have it developed. Pictures are instantaneous.
Besides the fact that your clients will expect them, photos protect you. They are physical proof of what you have written in your report.
Assuming most home inspectors today include photos in their reports, how can you make yours distinctly better? How can you stand out from the crowd?
- Take lots of photos to get one good one. This is a rule used by photographers everywhere. It’s why when you see a photographer taking pictures, you hear so many clicks; they take a burst of photos for every shot they line up and then choose the best one.Granted, moldy basement ceiling tile will not vogue for the camera like a supermodel, but try taking photos from different angles and adjusting the lighting. It matters.
- Get a good angle. Sometimes you want to try different angles to see which one is best, but other times, it’s clear that one angle is better than another for highlighting certain issues.If you see sagging gutters, for instance, take the picture from the side of the house rather than head-on to better show the deviation. Consider the picture below. This is a good closeup of old, curling shingles. However, it would be good to include a larger picture of the roof with an arrow pointing to the problem as well, because it’s hard to tell what part of the roof this is.
- The camera flash is your friend. You have undoubtedly seen — but hopefully not taken — poorly lit photos in basements, chimneys, crawlspaces, and other dim locations. This is easily avoidable by using the flash on your camera properly.If you’re not sure how to do it, ask a friend to show you or watch a tutorial online for your model camera or smartphone.In the case of a dusty location, however, using your flash might result in a picture that looks snowy. Use your flashlight to brighten the area to take photos in these cases.
- Use arrows. You may think a picture of a problem like a leaky pipe or a hole in the roof is obvious, but it isn’t necessarily clear to every homeowner. Even if they can find the defect in the photo, why should they have to study it? Make it easy on them and include an arrow pointing out the problem. Your clients will appreciate your effort.
Use these tips in your home inspection report. Your photos will look better and your report will be more useful to the client.
When you do your home inspection training with ICA School, you get free home inspection report software. This software will help you make your reports look more professional. A polished home inspection report, complete with skillfully taken photos, will make your home inspection business a standout.
Enroll now and get your home inspection training certificate from ICA School.


